How internet celebrities are live streaming professionally using the powerful free app OBS Studio.
OBS Studio is an open-source free app for managing live streams or recording videos. With OBS Studio you can record tutorials, stream games, make professional-looking live streams, and transmit to the internet.
A lot of people are using OBS Studio for creating and transmitting professional content.
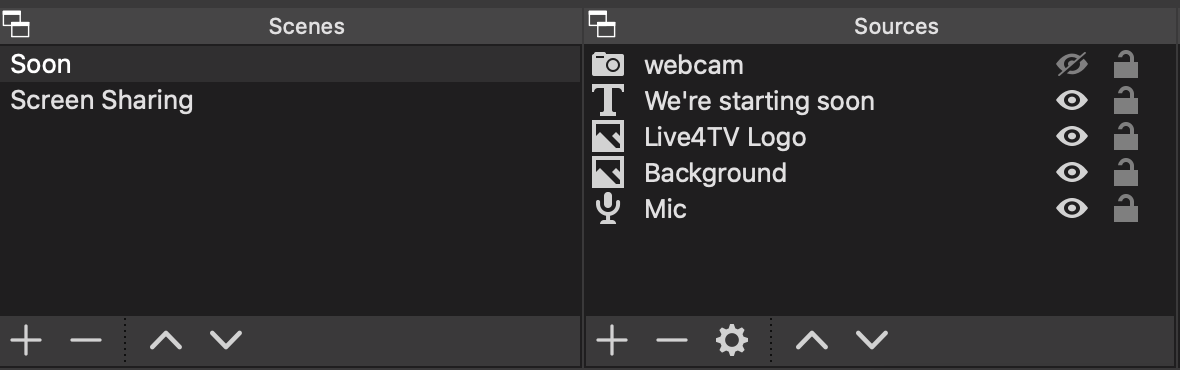
This is the main functionality of OBS Studio. Here you can create multiple scenes for your transmissions.
"Sources" are the media layers that you will use to assembly your scenes. For example, camera, computer screen, microphone, photos, images, texts, ...
"Scenes" are a group of "Sources" that build a scenario for your transmission.
You can create beforehand multiple scenes with different intents and interchange between them during the transmission. For example, you may want one scene that only displays your webcam, a second one that displays another camera connected to your computer, and a third scene that shares your screen. You can even have a scene with your screen and your camera together or anything that your creativity dictates.
And during the recording or the live stream, you can transit between all those scenes.
Which brings us to the next topic.
On OBS Studio you have the "Preview" (on the left) and the "Program" (on the right). The preview is just what it says, a preview of what you may or may not transmit. And the Program is what is being transmitted at that exact moment.
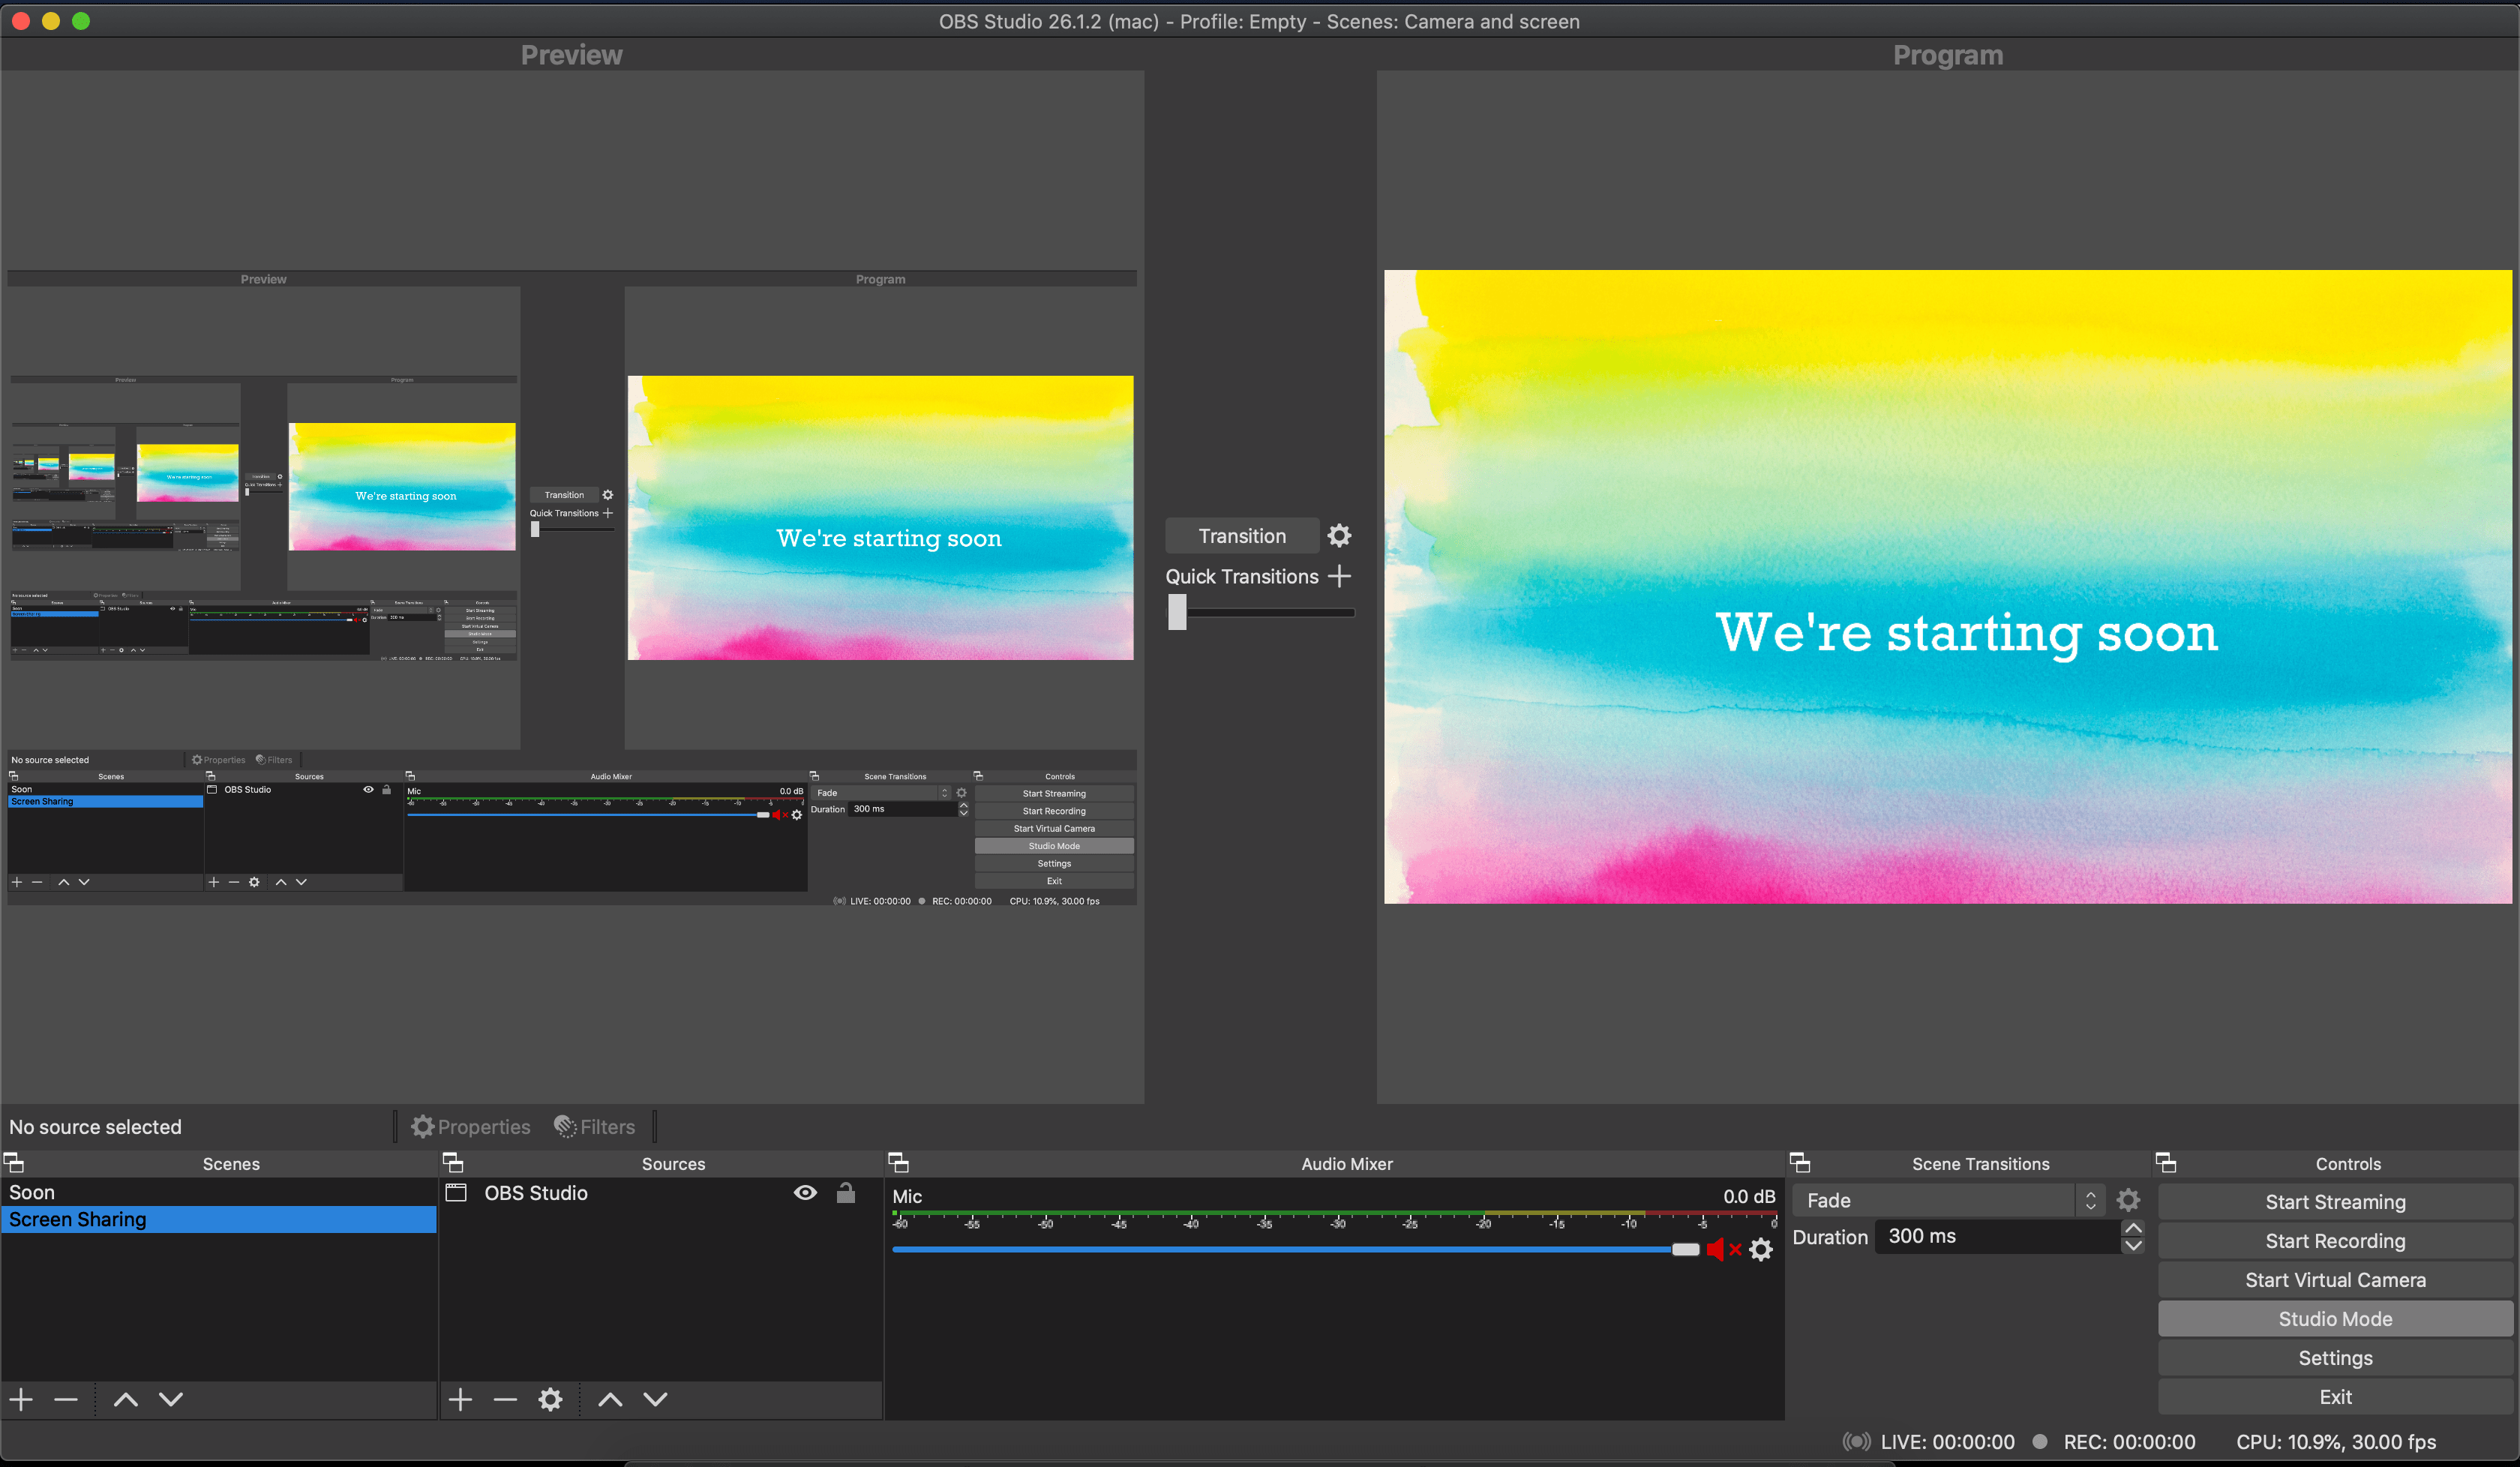
On the above image, I am transmitting the scene "Soon" and I am with the screen share on "Preview". If I want to start transmitting the screen sharing scene, I just need to click on the "Transition" button which you can find on the central column.
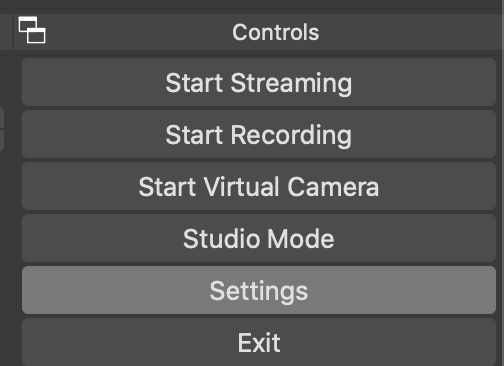
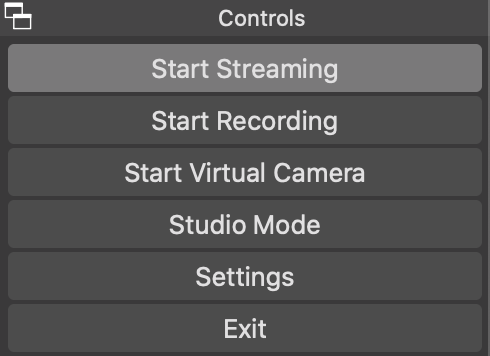
To live stream, you will need to configure the server to which you will transmit. You can click on "Settings" on the menu "Controls".
And then in the settings screen, click on "Stream", which you can find on the left menu.
Generally, all the stream platforms provide you the following info:
1. The server URL to which you will send your live stream.
2. A stream key that will identify your stream on the platform to which you're streaming.
OBS Studio has a menu with multiple platforms preset, if you select a preset "Service", OBS will already take care of the Server URL and you will only need to care about configuring your stream key. In case the server that you wish to stream to is not on the list, you can select "Custom..." and type the Server (transmission URL) and the stream key.
The following image has an example of configuring OBS to transmit to Live4.tv:
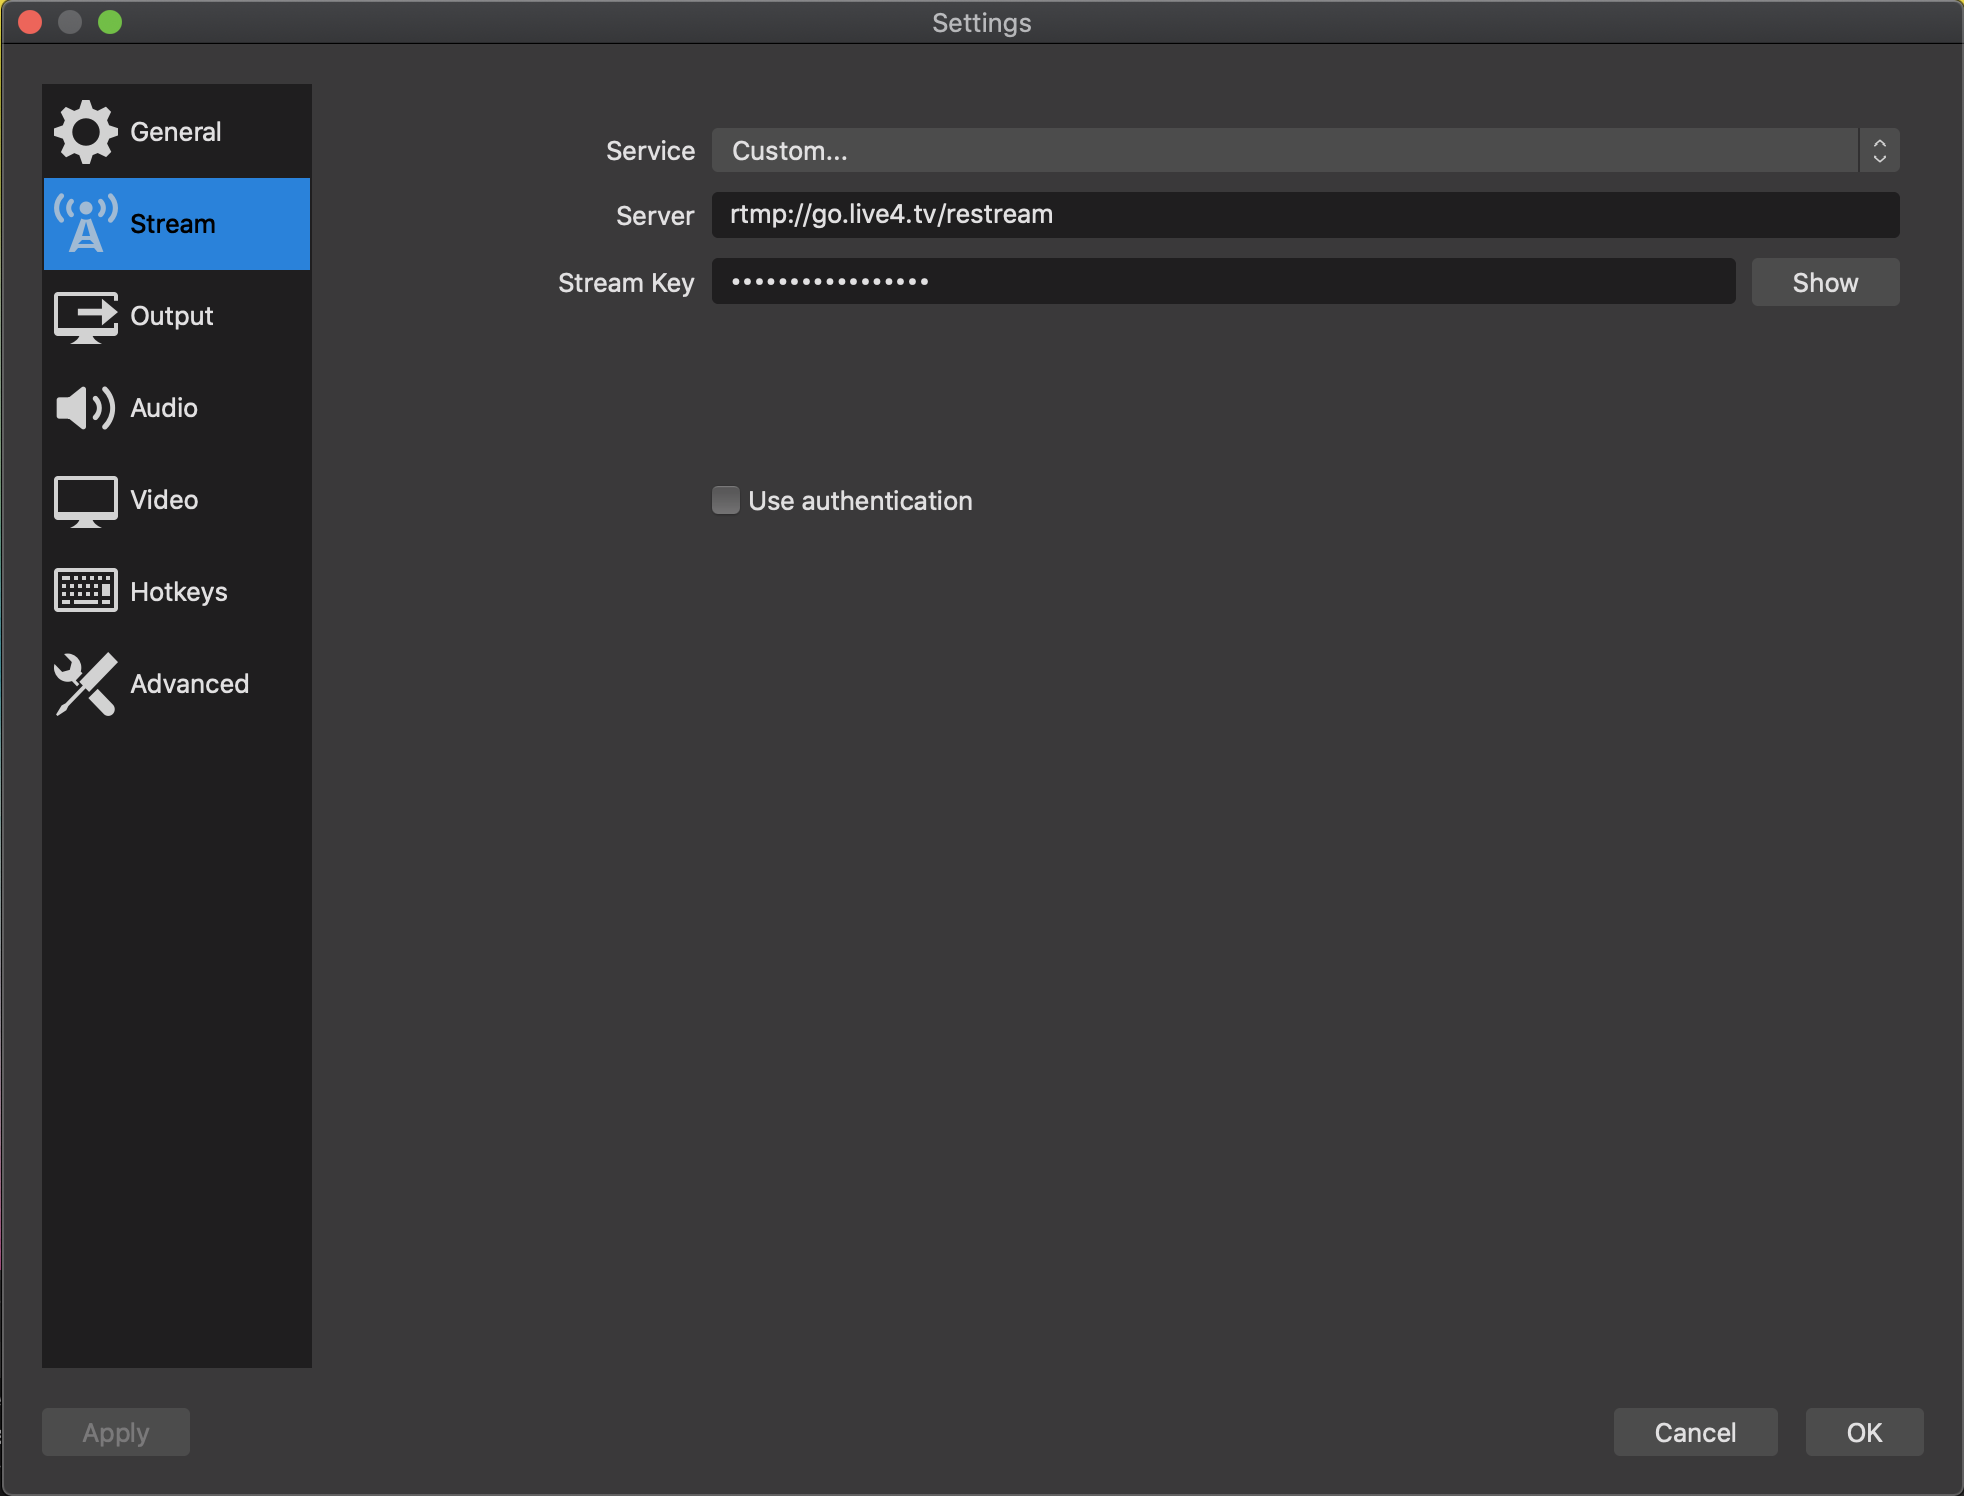
Tip: Always remember to click "OK" to save your changes.
After configuring your stream, you will only need to click on "Start Streaming" inside the menu "Controls". And your stream will start.
And that's it, you now can start streaming more professionally. In case of questions, feel free to contact us clicking here.
* How to configure OBS Studio and stream to multiple social networks with Live4.tv
* How to live stream to multiple Facebook pages, profiles, or groups.
* How to live stream to multiple YouTube accounts
* How to live stream to Instagram from PC